In this page, you will see how to use the application PCL to Image Converter for Mac from the following aspects:
Download and install
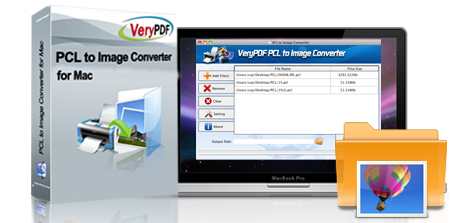
To use PCL to Image Converter for Mac, you need to download it via clicking here. Then you need to double click the installer of the app to install the application by following the installation wizard step by step. After that, when the installation is finished, please double click the application icon to open it. Please see the main interface of PCL to Image Converter for Mac in Figure 1.

Figure 1
Add file
Please click Add File (s) to open the file picker window from which you can choose the document that you want to convert and click Open button to add it or them into file list of the application. If some document is mistakenly added or you want to clear the file list, please click Remove or Clear button.
Set parameters
To set parameters for target file, please click Setting button and then you will see the Setting dialog box come out on your screen. If you want to set page size, please check Resize Page option and then input the width and height value in Page Size (Pixel) edit boxes. If you want to customize the image resolution, please check Reset Resolution option and input horizontal and vertical resolution of target image in Resolution (DPI) edit boxes. In Color Depth spin box, you can set image color depth as 1, 8 or 24-bit. In Convert to spin box, you are able to select output format as BMP, PNG, JPG, PCX or TIF. If you choose the output format as .tif, the options in Set TIFF group box will be activated and you can choose compression method for TIFF image in Compression spin box or create Fax TIFF file by choosing option in Fax TIFF spin box. If you have set done all the parameters, please click OK button. If you want to set parameters again, please click Reset button. If you want to close this dialog box, please click Cancle button.

Figure 2
Save target file
After clicking OK button in Setting dialog box, you will see the main interface of PCL to Image Converter for Mac again. In Output Folder text box, you can manually input the path for target file or click the button besides the text box to open the window in which you are able to choose the output location. Please click Convert button to run the conversion and you will see a progress bar appear at the bottom of the interface. You can stop the conversion anytime by clicking stop button.
So those are all the introductions about PCL to Image Converter for Mac, if you have any questions about it, please contact us.
 VeryPDF Cloud OCR API
Web to PDF Converter Cloud API
HTML to Image Converter Cloud API
Free Online PDF Toolbox
  Free Online Advanced PDF Converter
Free Online PDF Compressor
Free Online PDF Splitter
Free Online DOCX to DOC Converter
Free Online Word to PDF Editor
Free Online ShareFile
Free Online RSS Feed to Email
 Free Online Web Site to PDF Maker
Free Online URL to PDF Converter
Free Online PDF to Word Converter
Free Online PDF to Image Converter
Free Online URL to Image Converter
Free Online Image Converter
Free Online DOC to PDF Converter
Free Online OCR Converter
Free Online PDF Merger
Free Online PDF Stamper
Free Online PDF Page Resizer
 Free Online Photo Slideshow
Free Online File Converter
  Online PDF to Excel Converter


 $49.95


 Use As


 You may like these products


