VeryPDF Cloud API Platform  VeryPDF Cloud OCR API
Web to PDF Converter Cloud API
HTML to Image Converter Cloud API
Free Online PDF Toolbox
  Free Online Advanced PDF Converter
Free Online PDF Compressor
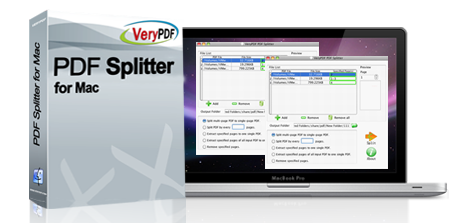
Free Online PDF Splitter
Free Online DOCX to DOC Converter
Free Online Word to PDF Editor
Free Online ShareFile
Free Online RSS Feed to Email
Free Online Invoice Maker
Free Online PDF Toolbox  Free Online Web Site to PDF Maker
Free Online URL to PDF Converter
Free Online PDF to Word Converter
Free Online PDF to Image Converter
Free Online URL to Image Converter
Free Online Image Converter
Free Online DOC to PDF Converter
Free Online OCR Converter
Free Online PDF Merger
Free Online PDF Stamper
Free Online PDF Page Resizer
Flipbook Maker (Desktop Version)
Free Online Flipbook Maker
Free Online PDF DRM Security
Free Online Document Editor
Free Online Document Viewer
Free Online Thumbnail Viewer
Free Online Document Sharing
Free Online Document Annotator
Free Online Document Slideshow
Free Online PDF Form Filler  Free Online Photo Slideshow
Free Online File Converter
  Online PDF to Excel Converter


 $29.95


 Use As


 You may like these products


